In the following article we show you the steps to follow and the techniques to use to obtain a good outdoor marijuana harvest. Obviously, we can just water the plant and observe how it follows its natural process, but that will not guarantee a high-quality harvest. Therefore, if we want a good result, we must follow certain guidelines that we will summarize below.
Firstly, there is a wide variety of outdoor cultivation methods, but in this article, we will explain the steps to follow in a regular outdoor or seasonal crop. That is, we will focus on the natural cycle, planting seeds in March-April and harvesting them in September-October.
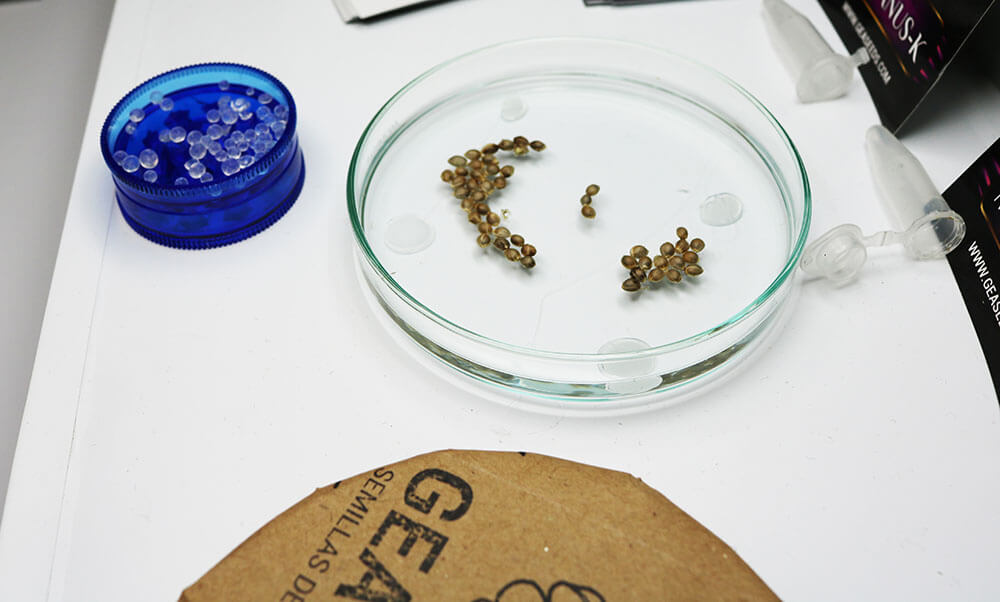
Seeds germination
The first step, but no less important, is the germination. We have already dealt with this subject in other articles of our blog, so if you want more information you only must consult them.
seed germination
Ideal growing medium
Once the seeds have germinated, we must choose a suitable substrate for the place where we want to plant. When the seed has germinated we should plant it in a small pot and wait for the stem to develop. When we see that the stem has grown sufficiently, approximately three or four centimeters. This is important because, if we plant it directly germinated, or with a very small size, we run the risk of spoiling the plant due to the bad weather, insects and the hostile environment in general. It is necessary to use small pots to germinate seeds and others to make them grow. Many growers are progressively changing the size of the pots from smaller to larger to improve growth. But it is not necessary, it depends on the grower preferences.
Remember that autoflowering plants are recommended to be sown directly in the definitive culture medium because of their fast cycle.
Germination materials
To germinate seeds, you can use the system of Tup-per, and once they have opened, you must plant them in alveolis or in small pots of small size, for example, 7x7x9cm or 9x9x11cm. The depth at which we plant the germinated seed will be one or two centimeters, depending on the size of the stem. At this time plants will need our full attention as we are facing an extremely delicate period.
We must have moist soil but not soak them as we run the risk of drowning plants. We must have them in a sunny place, but not with directly sun because at this point the plant is very delicate and we can burn it. Finally, we must also bear in mind that the place where we plant them must not have strong air currents, as they could tear it off; but it must be in a ventilated place. If we do all this, stem will begin to grow and lean, it is at this point that we must transplant it again, this time in a pot of approximately 3.5L; burying the stem about two thirds of its size. It is also important to water the plant at the edges of the flowerpot, because if we wet the delicate stem, it runs the risk of rotting.
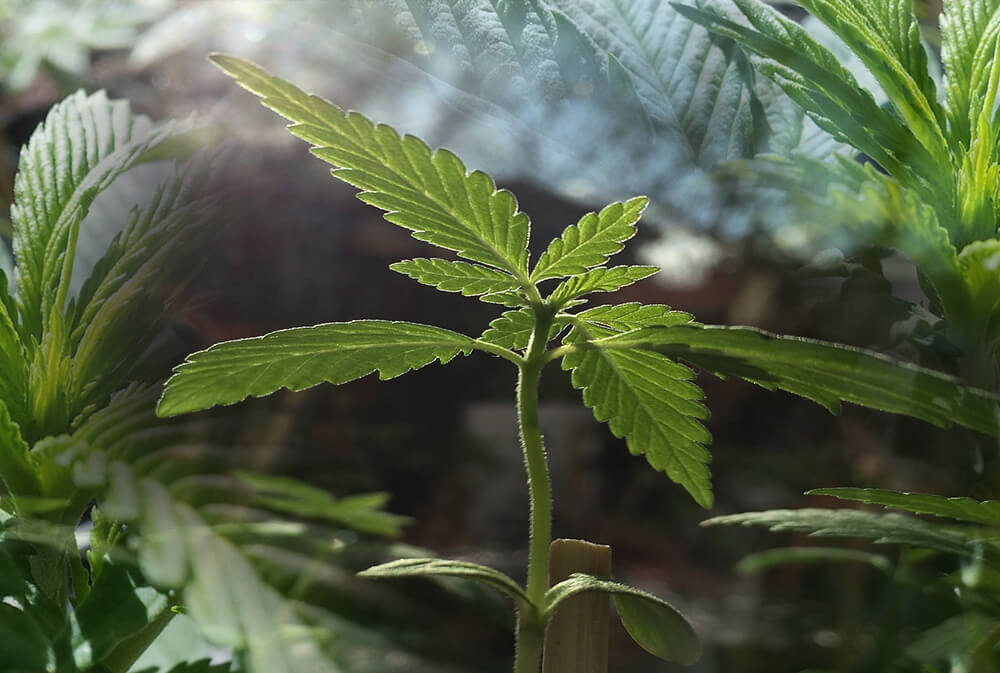
Direct light
At this point we will place them in a place where they have direct sunlight, if they can be sheltered from strong wind and low temperatures. At this time, plants will measure approximately one span and be ready to be planted in the field or taken outside in their pots.
Remember that plants should receive at least 5 hours of direct light for their proper development.
germination outdoor marijuana
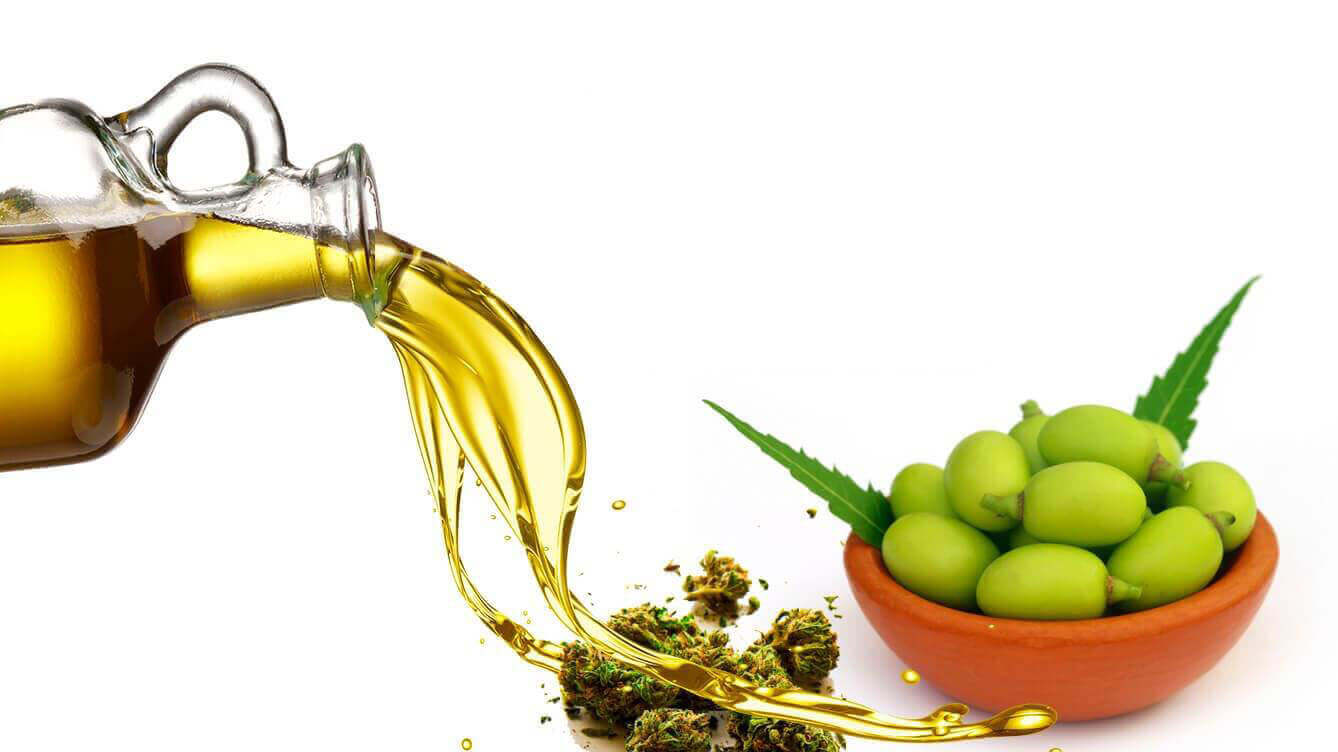
Protecting outdoor plants
Once the plant is in its final place, we must protect it from insect pests, for which we recommend three main products: Neem oil, Propolix and Bacilus thuringiensis.
neem oil
First of all, Neem oil will protect our crop from very typical insects such as the whitefly or aphid. Secondly, propolix, which will protect our plants from fungi such as powdery mildew and brotitis. We will add this product every 20 days and we will stop using it 3 days before the harvest to avoid residues in the buds that we will smoke. Finally, the Bacilus thuringiensis, which will serve to protect our precious plants from worms. This is very important, because if we don’t remedy this plague, it will end up eating our buds from the inside to the outside and ruining our entire crop. To avoid surprises we will start spraying at the beginning of June and repeat every 20 days, not using it 30 days before harvest.
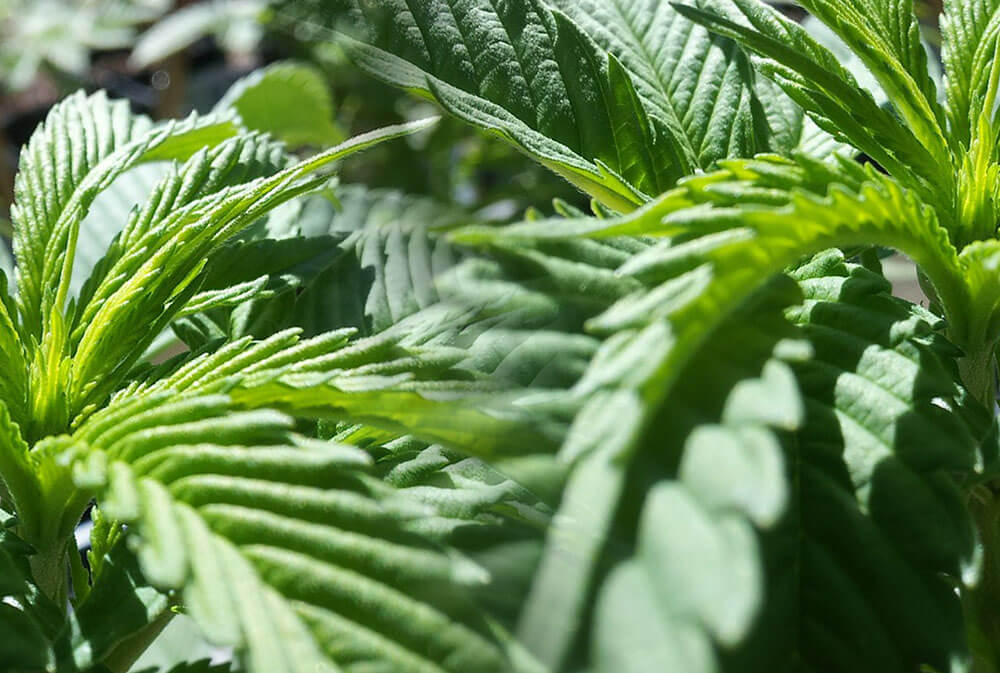
Growing phase in outdoor plants
These are some necessary pest prevention recommendations, but what other factors do we need to consider during the plant’s growth and development phase? Fertilizers are of vital importance for the quality of our harvest. While our plant develops we must fertilize it so it develops properly. In addition, it is vitally important to control the Ph of the irrigation water. High or low pH levels have a direct influence on the correct development of the plant and, therefore, we must use a pH meter to control it.
Other care (PH, Fertilizers…)
During the growth phase, pH must be between 5.5 and 5.8 including fertilizers. Fertilizers in this period should be rich in nitrogen, which is the most demanded by the plant in its growth phase. There are many brands of fertilizers and they all have crop tables to know the amount of fertilizer to be added at each stage. It is important if you are a beginner to select the line of the same brand during the whole cycle to avoid both being short and overfertilizing. So, if you choose the growth of Atami, Grotek, Biobizz or Canna (for example), continue with all its products throughout the process. Once you have more experience you will be able to combine brands, using the one that best convinces you for growth, flowering and fattening of your buds (and all the complements you need). Controlling the other factors mentioned, our harvest will go perfect. During the growth phase we are also interested in changing from pot to one of higher volumes. Anyway, it depends on the grower preferences.
marijuana flowering
Outdoor cannabis flowering
Once the growth phase is over, approximately on June 24th, the day will begin to shrink, shortening the photoperiod of light, so, our plant will begin the flowering phase. Many growers recommend a change of flowerpot just before beginning to flower, so that the plant can face the last effort and subsequent flowering. The change of pot depends on the flowerpot that you have previously selected, maybe in the previous transplant you have already put it in its final pot.
Other cares
It may be interesting to add guano fertilizers to the soil. We must be very careful when adding guano, because if we if we apply too much, we can burn the roots. Our recommendation is to enrich the soil by adding one tablespoon of guano per 7L of soil. The high levels of potassium and phosphorus contained in the guano are ideal for the phase that our plants are going to face. Once the flowering phase has started, we should not transplant or prune it again or cut eyes, because we can stop the flowering process. The only thing we recommend at this time is to water the plant by adding some special fertilizer for flowering. Keep in mind that there are more delicate moments than others during the cycle. But in all of them we will have to watch our auto-culture looking for pests, possible hermaphroditism and nutrient deficiencies.
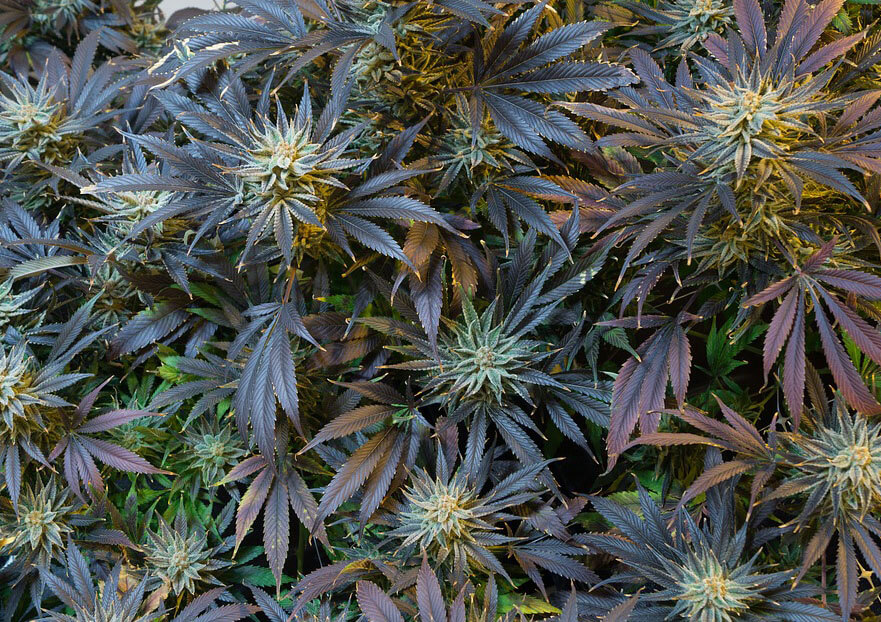
Buds
If you have reached this point by following all these indications, you will be ready to harvest an abundant and quality product. But don’t get impatient, before cutting you will have to wait until the buds are well formed. About two weeks before you must cut the buds, we must wash the roots with plenty of water. This is done with the purpose of cleaning plant of the excesses of nutrients and fertilizers in general, leaving bud clean of products that we do not want to negatively influence the taste of our final product.
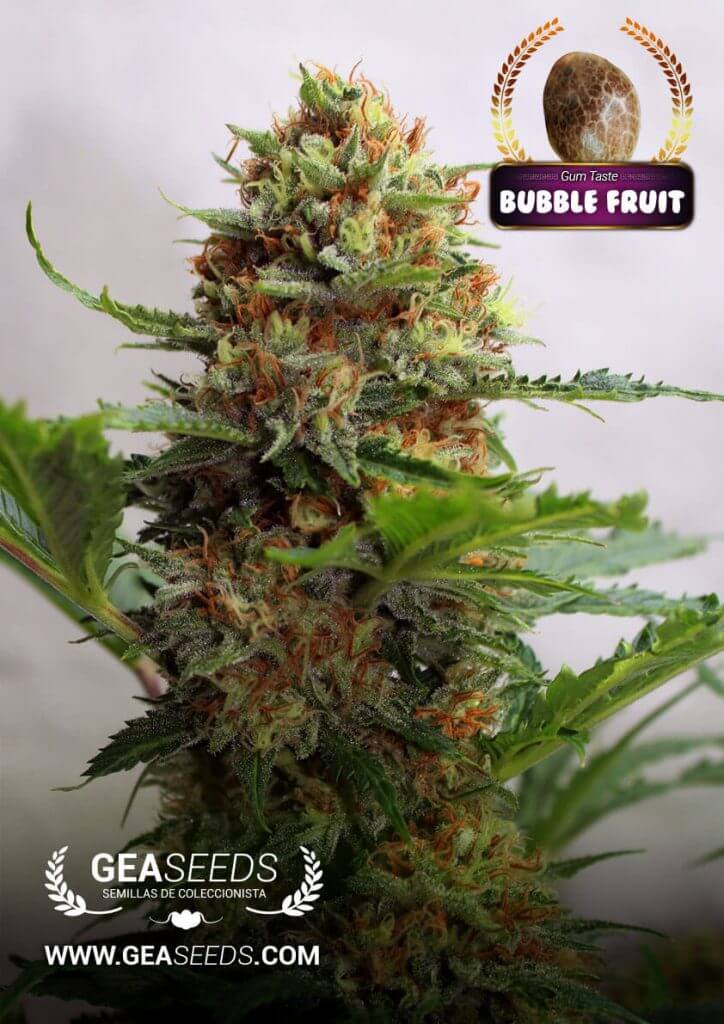
bubble f bud
The last few weeks, once we have done the root washing, we should let the soil dry and keep the plant only water-based. Finally, a day or two before harvesting, it is better not to water the soil, so when you cut the buds, you will avoid the moisture excess inside them. If we don’t do this, buds will have water inside and we run the risk of rotting them or suffer the fungus attack.
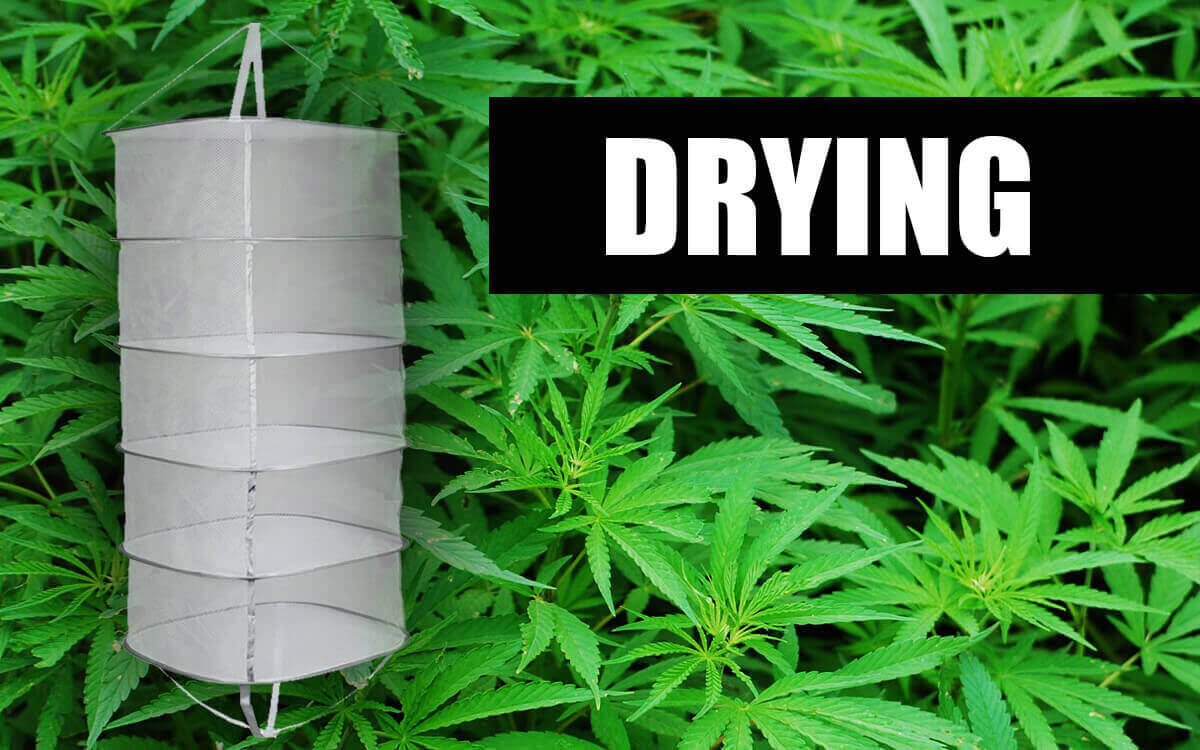
Drying and curing of outdoor plants
Finally, the great forgotten, drying and curing. Many growers do not give importance to this phase. They believe that once bud has been obtained, the work is finished, but nothing could be further from the truth. Drying and curing will give the final taste to our buds. In fact, without a good cure, we can ruin the work of many months, so, pay special attention to this phase too.
Drying
During the drying process, the water content should be reduced from 75% to approximately 10%, taking about 10 to 15 days. The method to follow is really simple, we cut the branches, peel the leaves and then hang the peeled branches upside down, avoiding that they touch each other and give them direct light. We must also consider that they are in an airy and damp-free environment.
Drying mesh
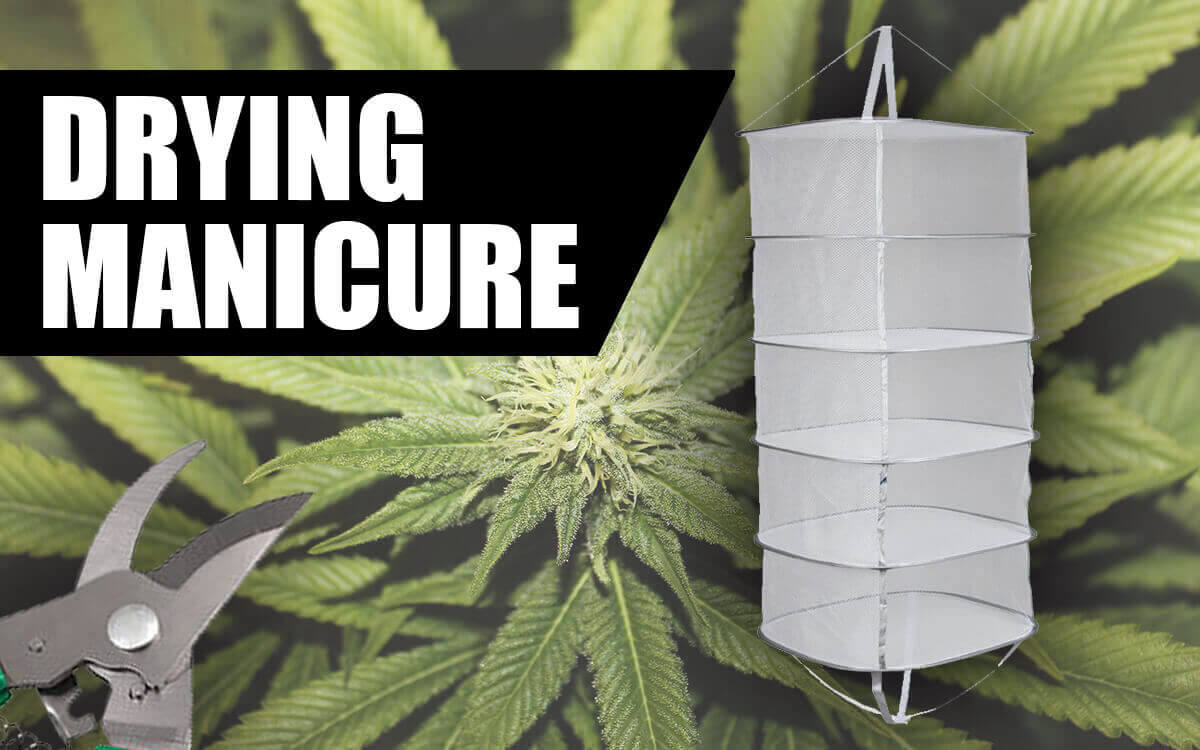
Cured
Once buds are dry, they are cured, which is usually done by storing them in a glass jar. This phase can last from two weeks, to two months or even a year, depending on the grower’s preferences; the better we cure the product, the more intense its flavour will be.
Dried, cured and manicured marijuana
This has been a synthesis of the different phases of growing marijuana outdoors. Now, if you have more doubts, don’t hesitate to read other articles in our blog or contact our telephone service, we hope the article has solved your doubts!
I just wanna share my experience in medical marijuana and it helps me deal with my health conditions. I’ve been suffering from chronic pain for how many years, but then when I learned that medical marijuana can help and cure sickness such mine like this article about a marijuana are also new to me and I don’t even smoke. If this is true I can’t find any solid conclusive evidence that speaks to its efficacy.
I have some plants that I have grown in large pots outside and are now showing some buds. A friend has told me that the plants should now be placed in the dark to allow the buds to develop further, is this correct ?
Exclusive access for adults (+18) and use of Cookies.
The content on geaseeds.com is intended for adults over 18 years old; please check the legislation in your country and comply with it. Gea Seeds is not responsible in any country for improper use or any use that violates the law of the products we commercialize; our company complies with Spanish legislation. This website uses cookies to improve the user experience; by continuing to browse, you are accepting their use and our cookie policy.
Necessary cookies help make a website usable by enabling basic functions like page navigation and access to secure areas of the website. The website cannot function properly without these cookies.
Cookie name
Supplier
Purpose
Expiration
cookiesplus
https://geaseeds.com
Stores cookie preferences.
1 year
PrestaShop-#
https://geaseeds.com
This cookie allows the user's sessions to remain open during their visit and allows them to place an order or perform a whole series of functions such as: date the cookie was added, language selected, currency used, last product category visited, recently viewed products, site service usage agreement, customer identifier, connection identifier, last name, first name, connected status, their encrypted password, email related to the customer account and the cart identifier.
480 hours
Statistical cookies help website owners understand how visitors interact with websites by collecting and providing information anonymously.
Marketing cookies are used to track visitors across websites. The intention is to display ads that are relevant and engaging for the individual user, and therefore more valuable to publishers and third-party advertisers.


Trying to learn
I just wanna share my experience in medical marijuana and it helps me deal with my health conditions. I’ve been suffering from chronic pain for how many years, but then when I learned that medical marijuana can help and cure sickness such mine like this article about a marijuana are also new to me and I don’t even smoke. If this is true I can’t find any solid conclusive evidence that speaks to its efficacy.
I have some plants that I have grown in large pots outside and are now showing some buds. A friend has told me that the plants should now be placed in the dark to allow the buds to develop further, is this correct ?